

Here at Glowtopia HQ we have decided to get creative and hands on with some of our own DIY decorations and crafts to really get our office and warehouse beaming with Christmas spirit.
Our warehouse was the first place we targeted (after our desks of course!) and our very functional but not very festive, mobile safety steps were the first thing that needed a little Yuletide cheer. Now of course we know it looks nothing like a mantlepiece.... but you have to work with what you've got, so a Christmas garland was the unanimous decoration of choice! As with all things Glowtopia, if we are going to do something... we are going to do it BRIGHT!
So, whether you're curious what we've been up to, or you want to have a go yourselves, here is our quick Step by Step guide to get garland making!

So you've got your wreath and all the decorations you want... let's start with the basics.
Lay your wreath out, untangle it, stretch it out.... basically just get it ready to start adding your decorations!
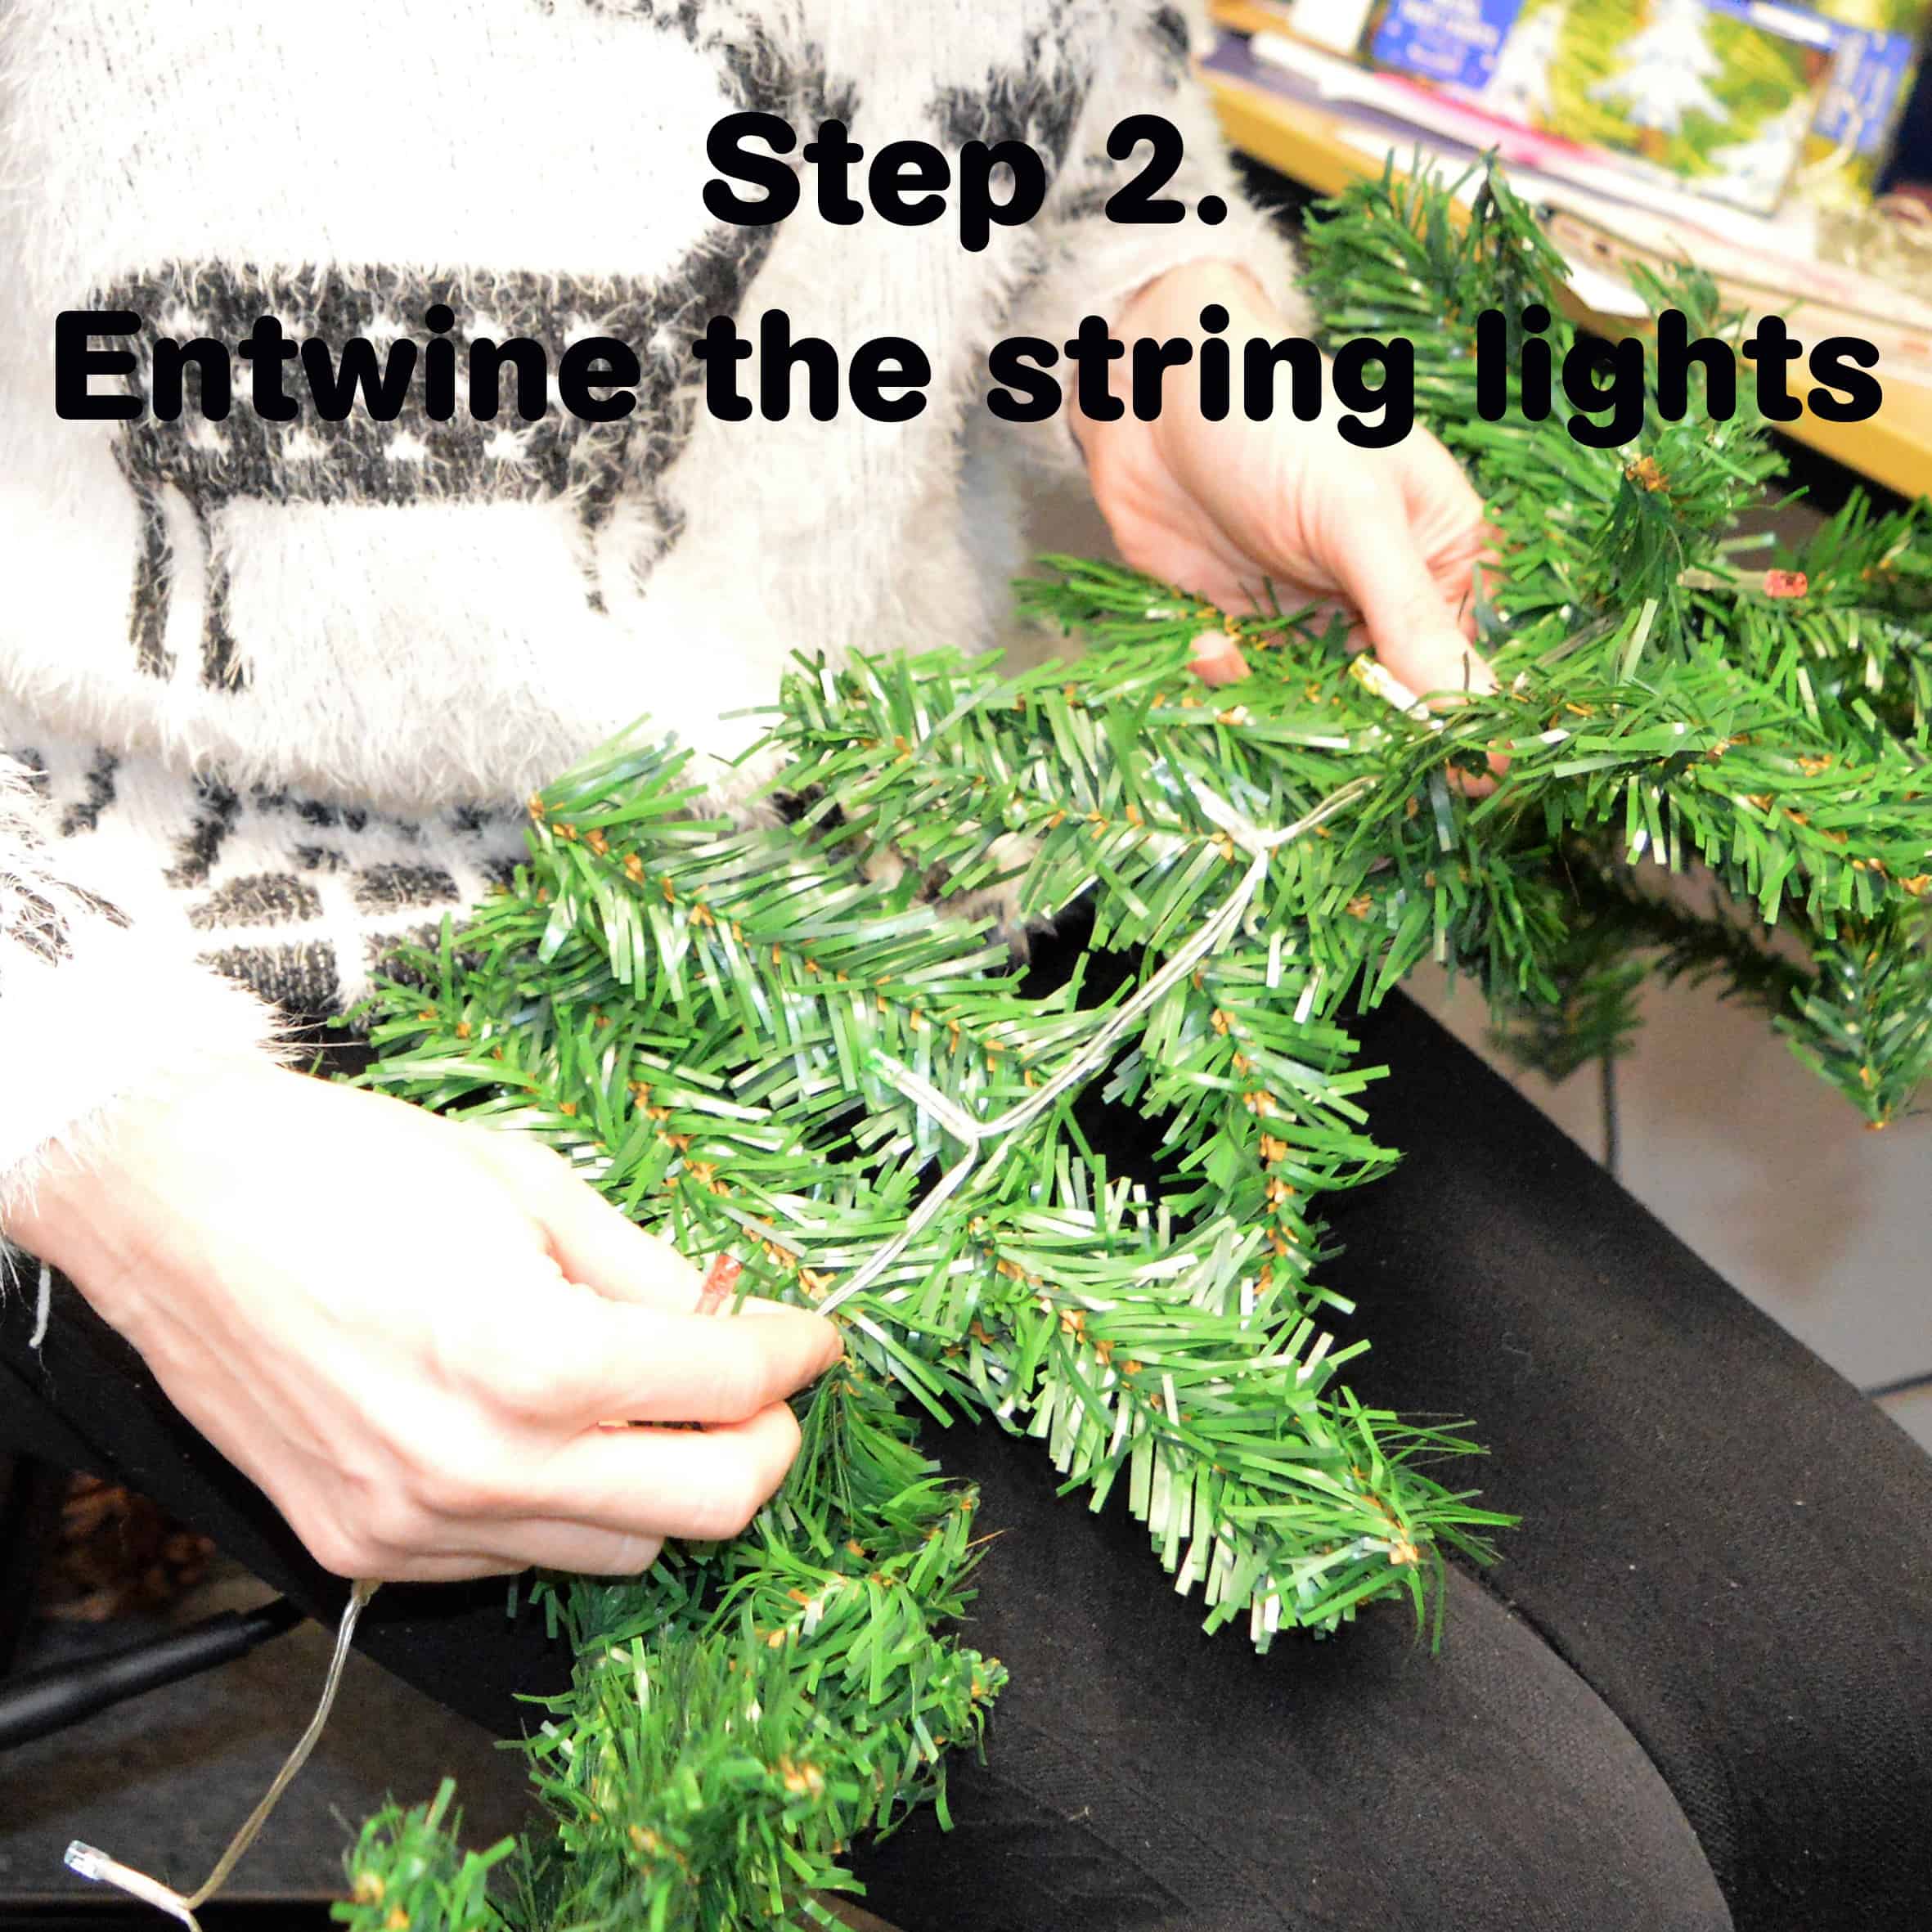
Begin with adding the lights first.
Start at one end of the wreath and position the first bulb that is closest to the battery pack at wire base of the wreath (not the branch).
Using the branches either side of the central wire, cross them over and under the light string wire so they hold securely in place.
Follow the length of the wreath's central wire, alternating between crossing over the branches and weaving under and over the central wreath wire.
If using two light strings like us, once you run out of string lights, start the same process again from the other end of the wreath.

In a similar way, take the beading and ribbon garland(s) and thread them around the wreath.
Try to alternative from the lights, you may not need to entwine it in so many places. This will help to disguise the light wires and will add some pretty detail to the wreath.

Now that the lights and central beading is in place, you can go ahead and adjust the branches.
Arrange them to spread out and form an attractive shape to the garland, paying consideration to whether you intend the decorations to hang or be fixed, and in what positions you would like them.

Now my favourite bit... get decorating!
Attach and assemble the decorations you have chosen. Why not consider a symetrical design? Whatever you do, and whatever adornments you have chosen, remember to space them out evenly.
We opted for very simple decorations placed symetrically, however, you can go for a range of different items of all varying sizes. Perhaps a large central piece with berries and bows in the centre, which spreads into less and less decorations as it reaches the end?

Now that your wreath is done, attach it to your location and switch the lights on!
That's it!!
Happy wreath making!!
")